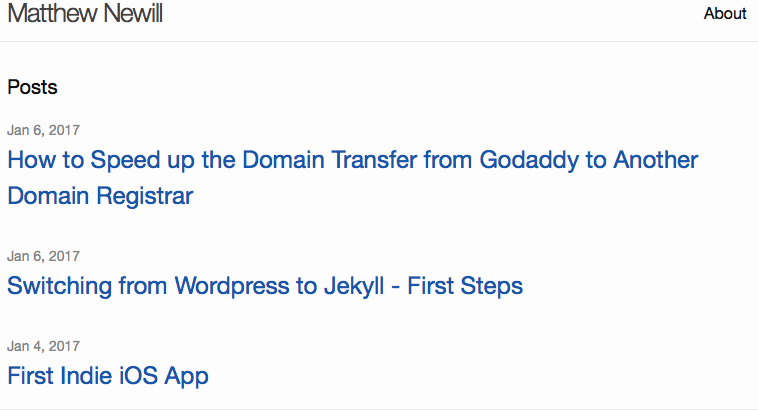
Since starting to using Jekyll on this blog I have been using the standard built in theme. If you have visited before you will have seen the blog looked like this:

The standard theme isn’t quite what I want this blog to look like. I personally prefer a few posts on the home page with full content enabled. I may at some point use the equivalent of the "more" tag so I can put an excerpt on the home page and then link to the full material, but for now I want to stick with the full content on the main page.
To make the change I needed to install a new theme. This is the first time I’ve used Jekyll, so I was also new at installing themes.
After a brief search around the Jekyll theme library I came across a theme called Lanyon. This is the one that I decided to modify and use.
How to Switch Theme on Jekyll
Before you begin, I suggest making a backup of your Jekyll folder. I used Git and committed everything before messing with the theme, that way I could switch back to where I was if needed. You might opt to simply make a copy of the folder. I’ll leave that up to you. However, in the next post I will show how I use Git and GitHub for version control on the site.
Installing the theme was fairly simple. I ran in to an issue with pagination, but also found the fix after some searching around. Here’s how I installed it:
I downloaded the Lanyon theme, extracted the contents and then folder by folder and file by file I pasted everything in to my Jekyll install being careful not to overwrite anything (such as the _posts folder… do not overwrite your own blog content).
I deleted index.md (the original index file) as there was an index.html file included with Lanyon.
The next step is to edit the config file. I commented out the old theme and added the following:
# theme: minima
gems:
- jekyll-feed
- jekyll-sitemap
gems: [jekyll-paginate-v2]
pagination:
enabled: true
per_page: 5
collection: ‘posts’
limit: 0
sort_reverse: true
sort_field: ‘date’
Here I specified jekyll-paginate-v2 as one of the gems to be used. Note that I used v2 as I had problems with jekyll-paginate. From my understanding, jekyll-paginate development has been discontinued. V2 seems to build on the original.
Next, I set the pagination options. I set enabled to true, per_page to 5 on "posts" only. The limit of 0 I believe means that all posts on my index.html page will be paginated and it won’t restrict it to the first XX amount of posts for example.
The sort_reverse had me confused. I expected it to be needed as false, but for me the correct order was true. I also specified the sort_field to be based on the date of the post. You can sort by others such as title, author, and others if needed.
After getting the main config file ready I also needed to add the following to the gemfile file:
gem "jekyll-paginate-v2"
You can now build your site and run it on the local test server on localhost:4000 as follows:
jekyll build
bundle exec jekyll serve
At this point you should see the Lanyon theme with your own content (assuming you didn’t wipe out your _posts folder).
Customising Lanyon
I made a few more tweaks to make it my own. I’m not particularly interested in the slide out menu from the side. Instead, I’ll add a single nav bar below my name which will run the width of the page. To remove the sidebar I modified default.html found in the _layouts folder. I also made some tweaks to the _includes folder as well as the other files in _layouts just to get the site looking the way I wanted.
After removing a few items I managed to get the site to look as I want it. I built the site and all looked good.
Next Steps
The next step is to move the blog to the internet for hosting. I chose Amazon to host the site and will go in to details of how I set that up in the next post.
Leave a Reply
You must be logged in to post a comment.